Friday, July 31, 2009
Thursday, July 30, 2009
Tuesday, July 28, 2009
Paint Day
Well today we got up nice and early, scuffed and masked off the beast... then shot the paint.
Now that we have the paint on- we have our name. Day-by-Day. That's pretty much how we'll be living. We are crafters, candlemakers, I am a tattoo artist. So, we'll figure out once we hit the road.

I have a very tight place to work, but we made it happen.
Now that we have the paint on- we have our name. Day-by-Day. That's pretty much how we'll be living. We are crafters, candlemakers, I am a tattoo artist. So, we'll figure out once we hit the road.

I have a very tight place to work, but we made it happen.
Odds n Ends

Well today we finally hooked up the water supply for the toilet. Works like a charm. As well I got the air tool connection for the tank done.
This is an example of a connection you can do on your air tanks.
My bus has two air tanks
 , main and accessory tanks. You'll want to use the accessory tank. Mine is only for the door actuator.
Wednesday, July 22, 2009
Toilet Installed
Wednesday, July 15, 2009
Floors done/ Tanks Hung

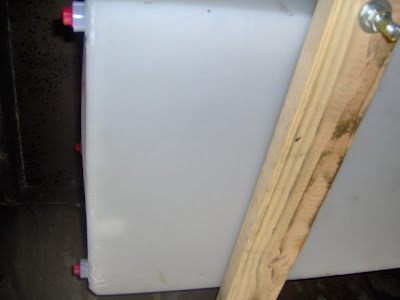
Today made some progress- took yesteday off. Besause I needed time to figure out just how I was going to mount the black and fresh water tanks. No grey tank yet, that will be on the other side- have to figure out how to do put in a second battery bank first.
This is the main black water tank support rods.
 Two holes in the skirting just behind the angle support.
 Two holes in the skirting just behind the angle support.
This is my favorite glue- and all purpose glue. I beat this end of the rod- then used the gorilla snot as thread lock.
Used a couple scraps from the flooring to help with chaffing in the rivets.

Used a couple scraps from the flooring to help with chaffing in the rivets.
Monday, July 13, 2009
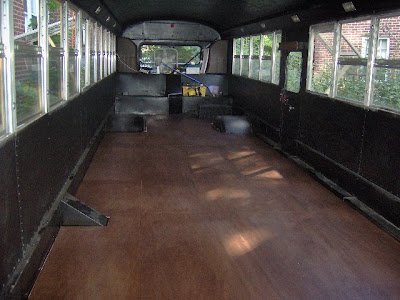
Flooring installed
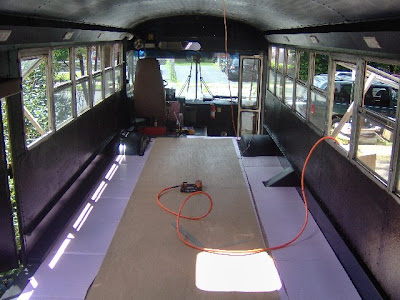
Today I made a trip to good old home depot- grabbed the supplies for the floor. 6 sheets of luan, pack of r-2 foam 4' x 50' some great stuff foam spray, and some adheasive. We left the old plywood in place, reason was it was in good shape, and saves loads of time. I'd love to rebuild it ground up- but $$being the way it is this was the most cost efficent way to do things quick and cheap.
 Preped ready to insulate and floor.
 Rear view, I left heater in. We don't intend to be anywhere to cold, never hurts to have a heater
Sunday, July 12, 2009
Interior Paint
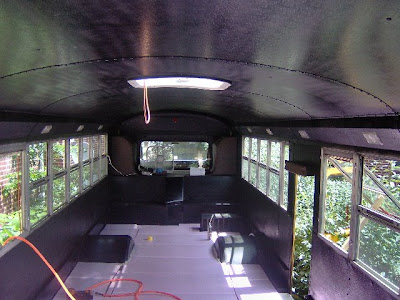
Well today we got out there and did the first stage of interior paint. What a difference a little paint can make. Almost like a new bus. I have a great sprayer and a steady and so our masking was minimal. I used a spay shield, a piece of cardboard...

All set, scuffed and ready for paint.
 This is the front all masked and taped- the rest I edged with a simple piece of low-tech cardboard.

All set, scuffed and ready for paint.
 This is the front all masked and taped- the rest I edged with a simple piece of low-tech cardboard.
Subscribe to:
Comments (Atom)


